2 - Switch
This part is best understood by watching the video, but if you prefer, here's a breakdown of the steps in written form.
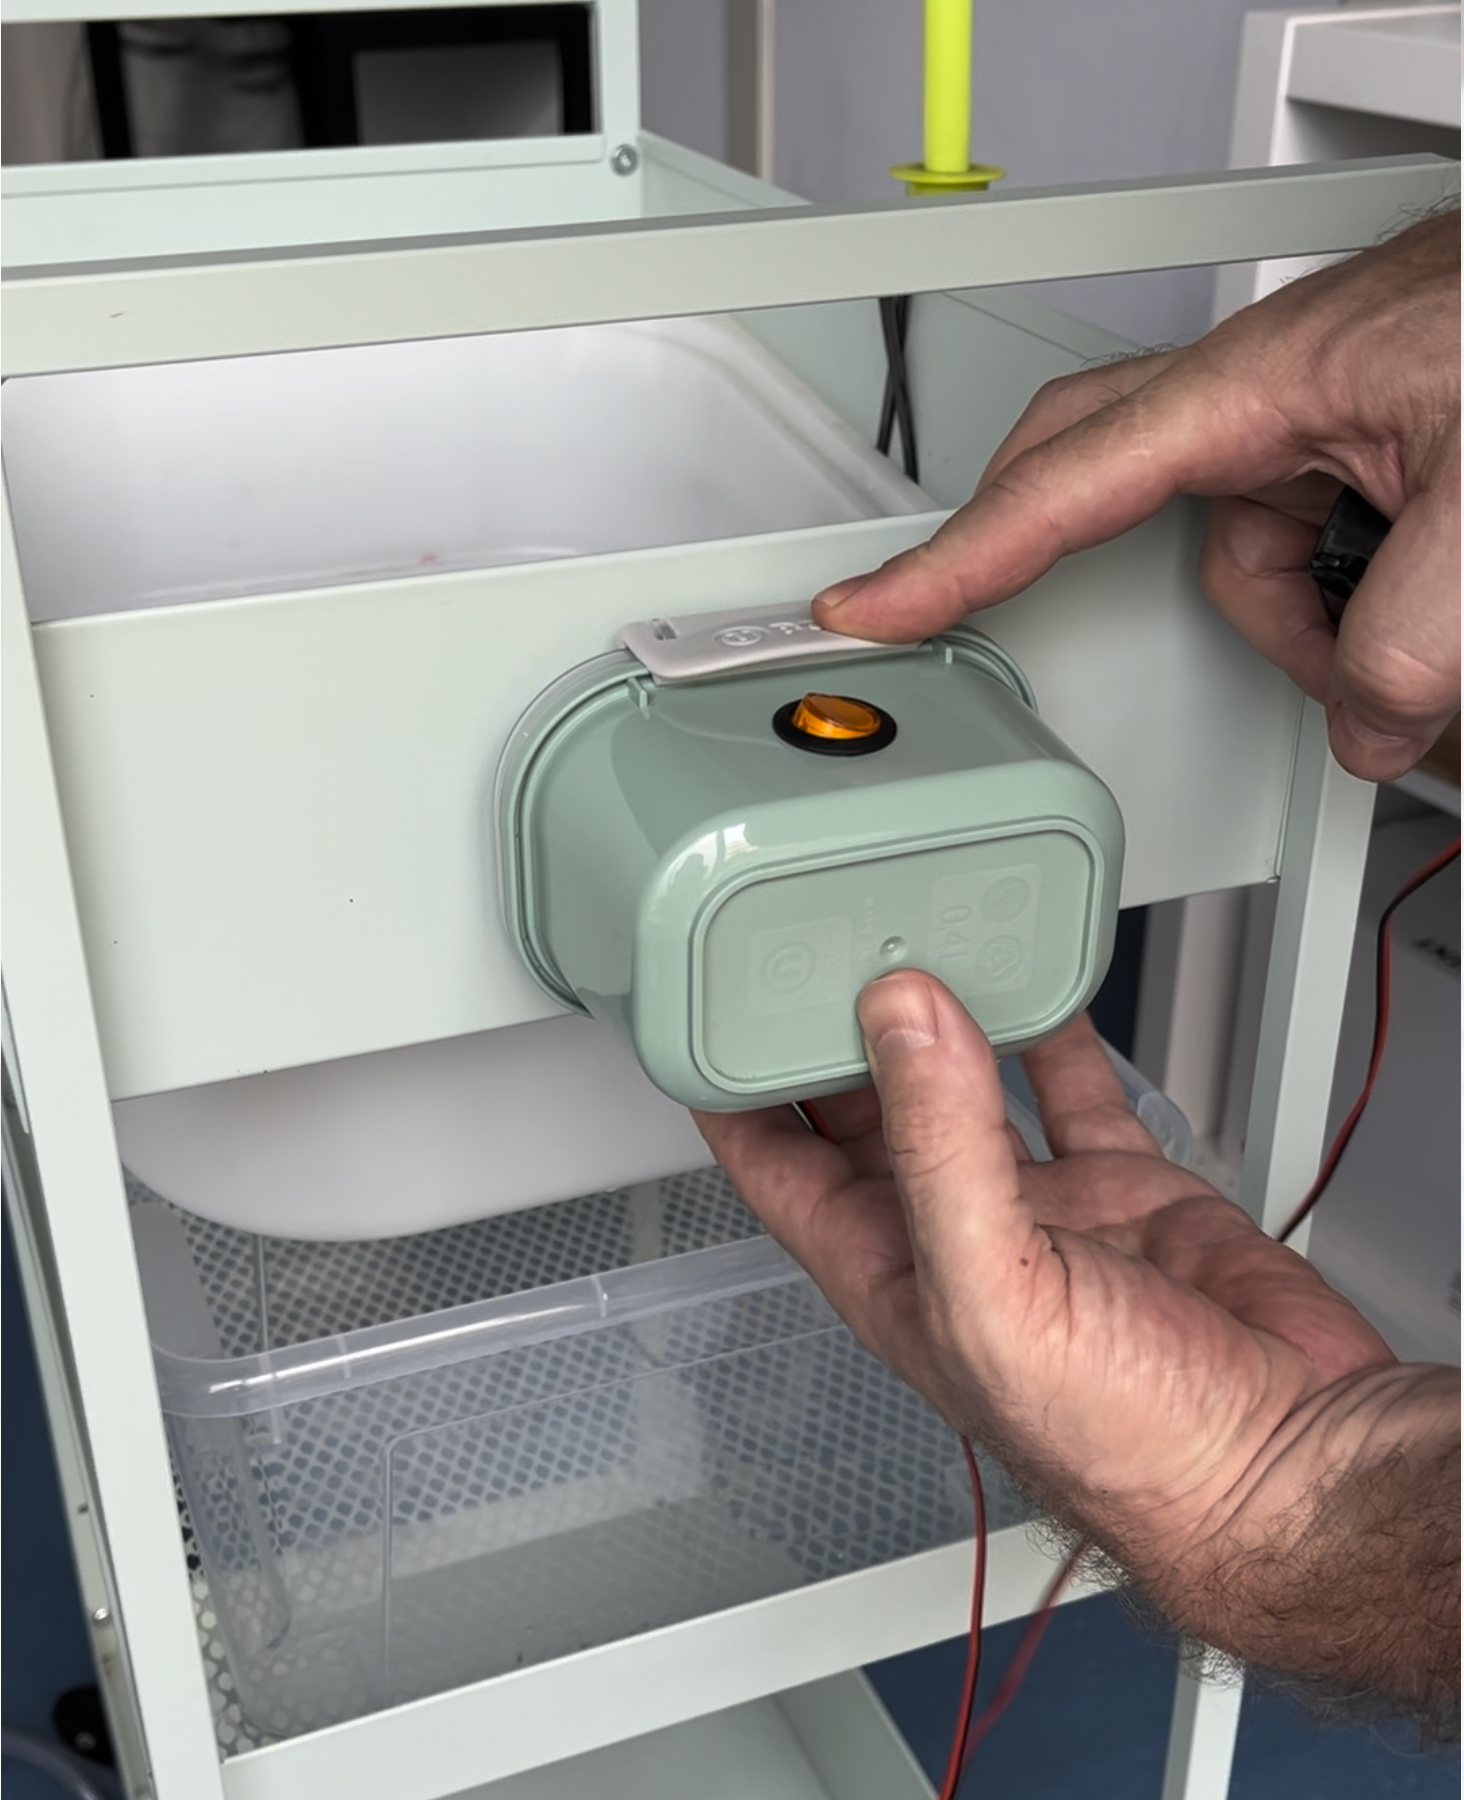
Step 1: Preparing the box
We'll start by preparing the container that will house the switch, USB-C adapter, and wiring.
-
1.1 Choose a container: Choose a clean container that matches in size and color according to your preference. We used a small plastic topper/box from a bazar shop found everywhere in Spain.
-
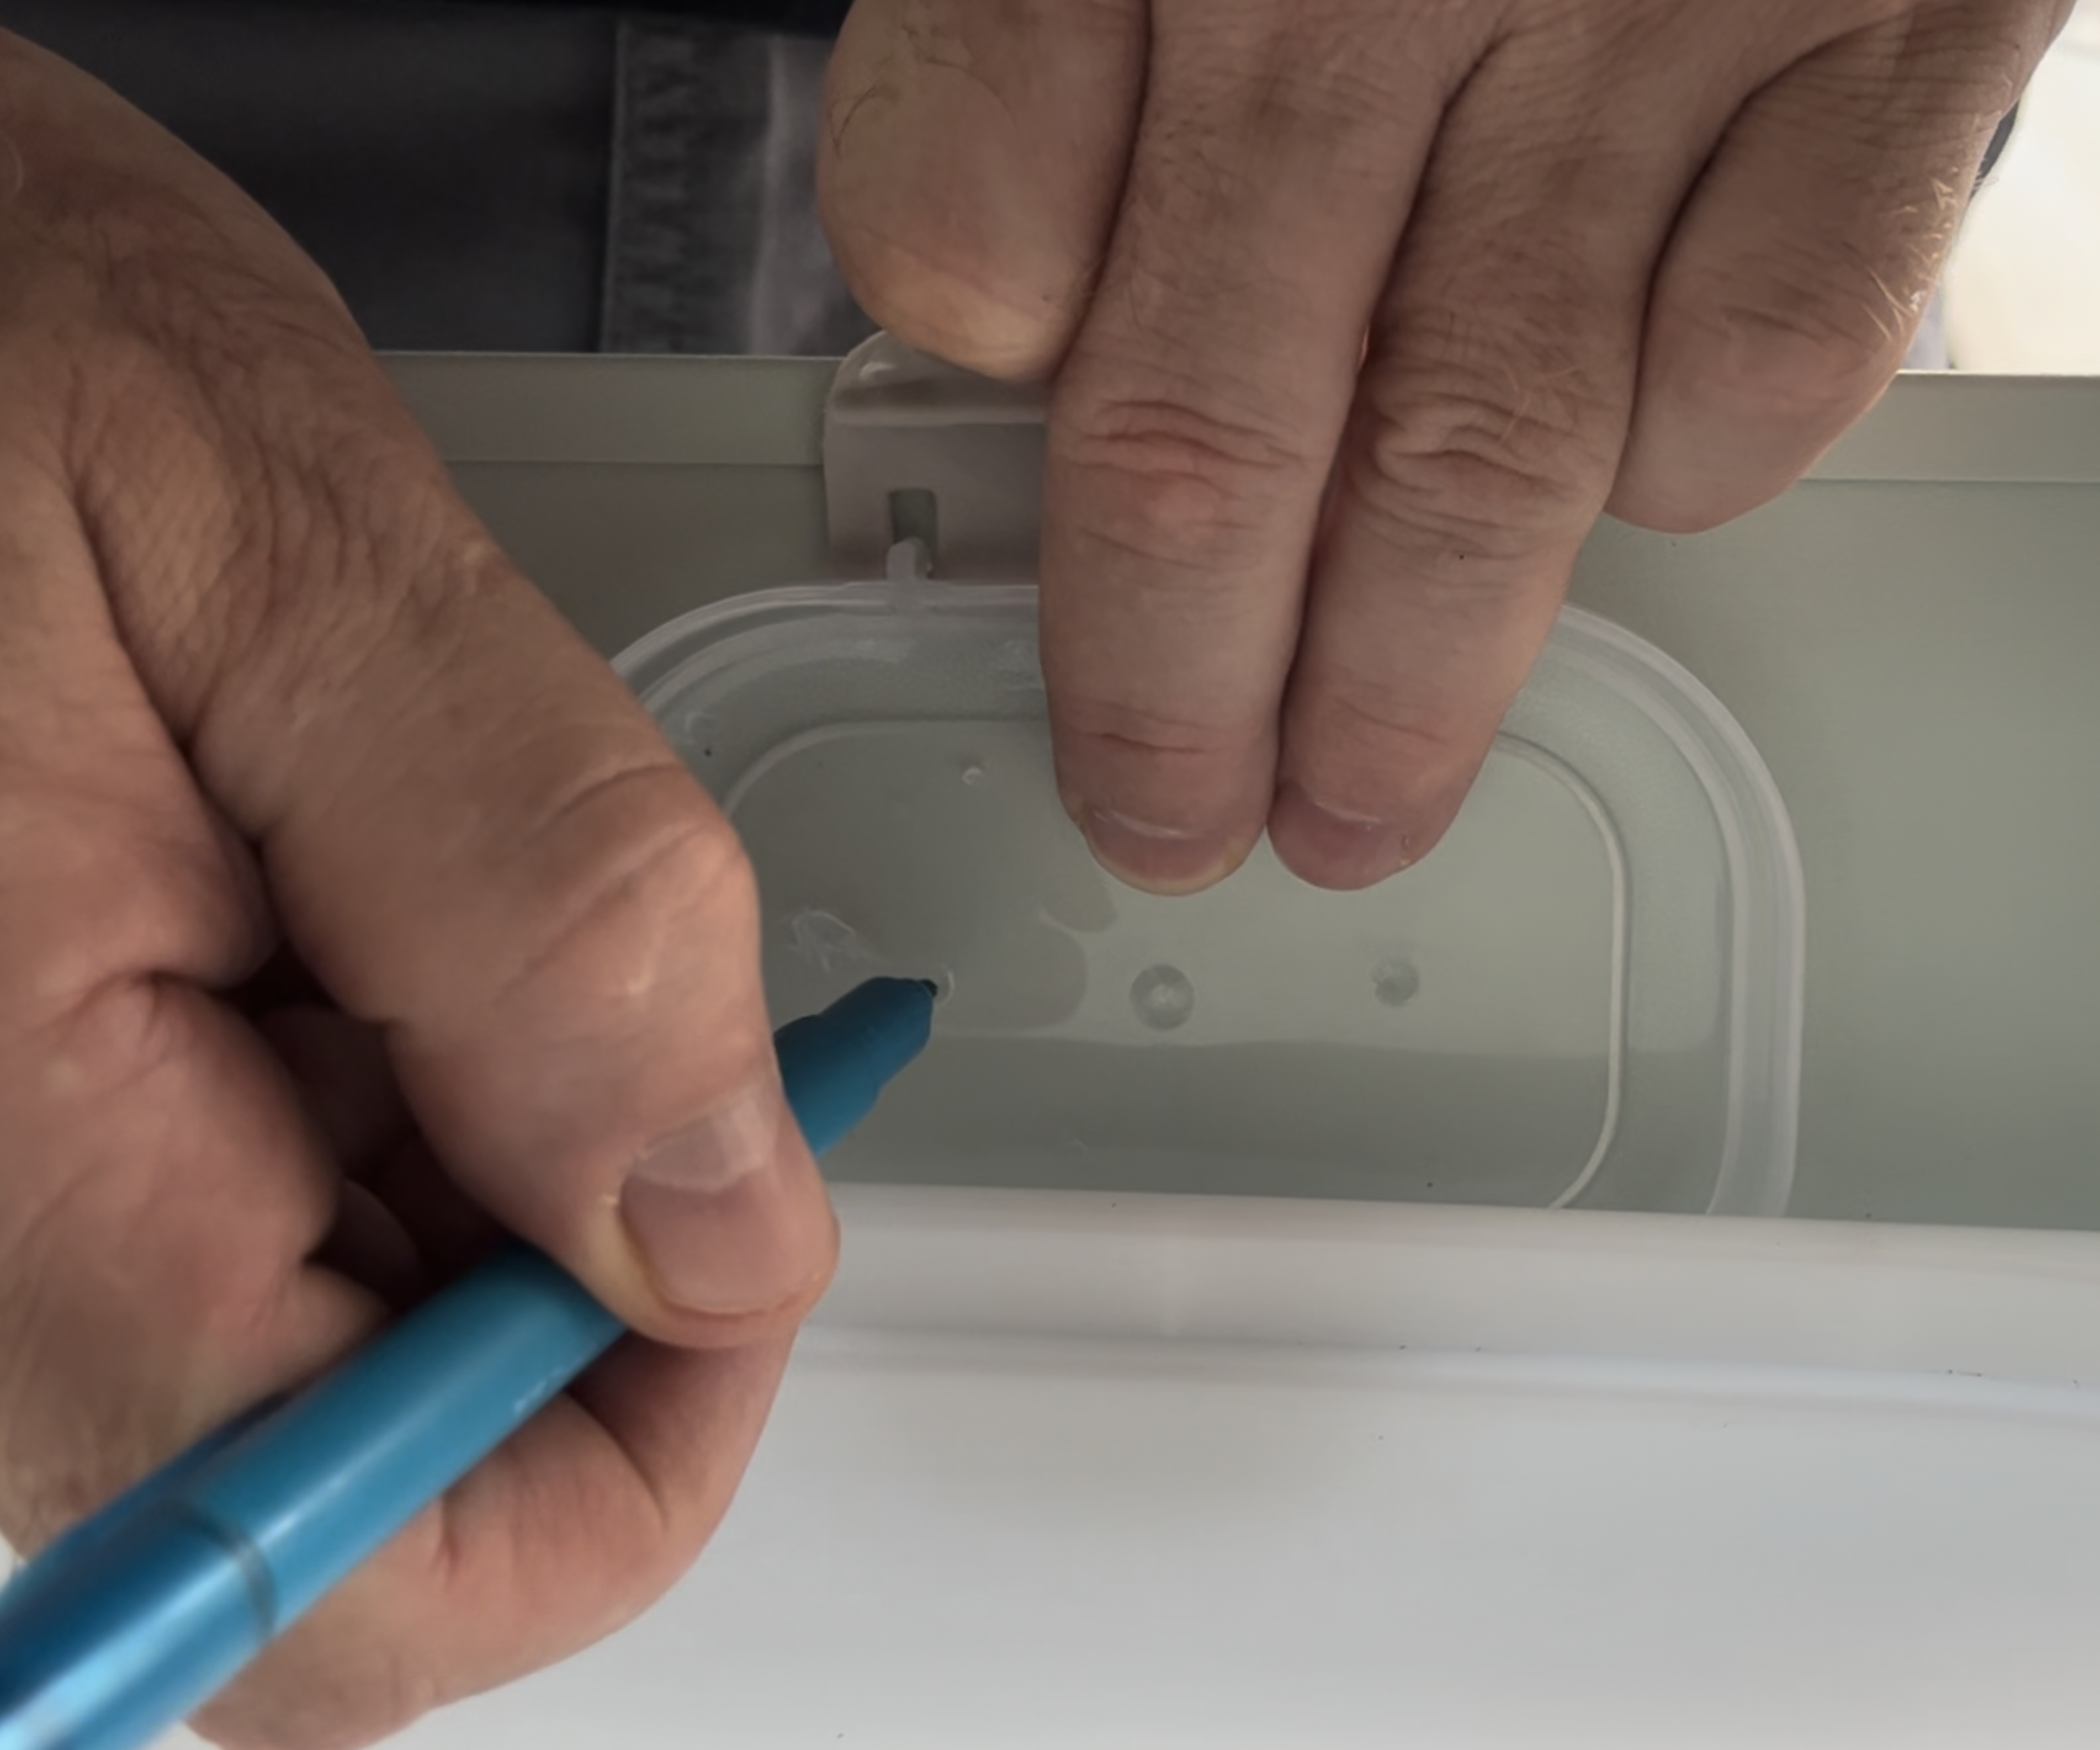
1.2 Plan the hole layout: You need three holes:
- Top hole → for the switch
- Bottom hole → for the USB‑C power adapter
- Small side/bottom hole → for the pump cable to enter the box
The switch will sit on top; the box will sit on either side of the sink depending on the child's preference.
-
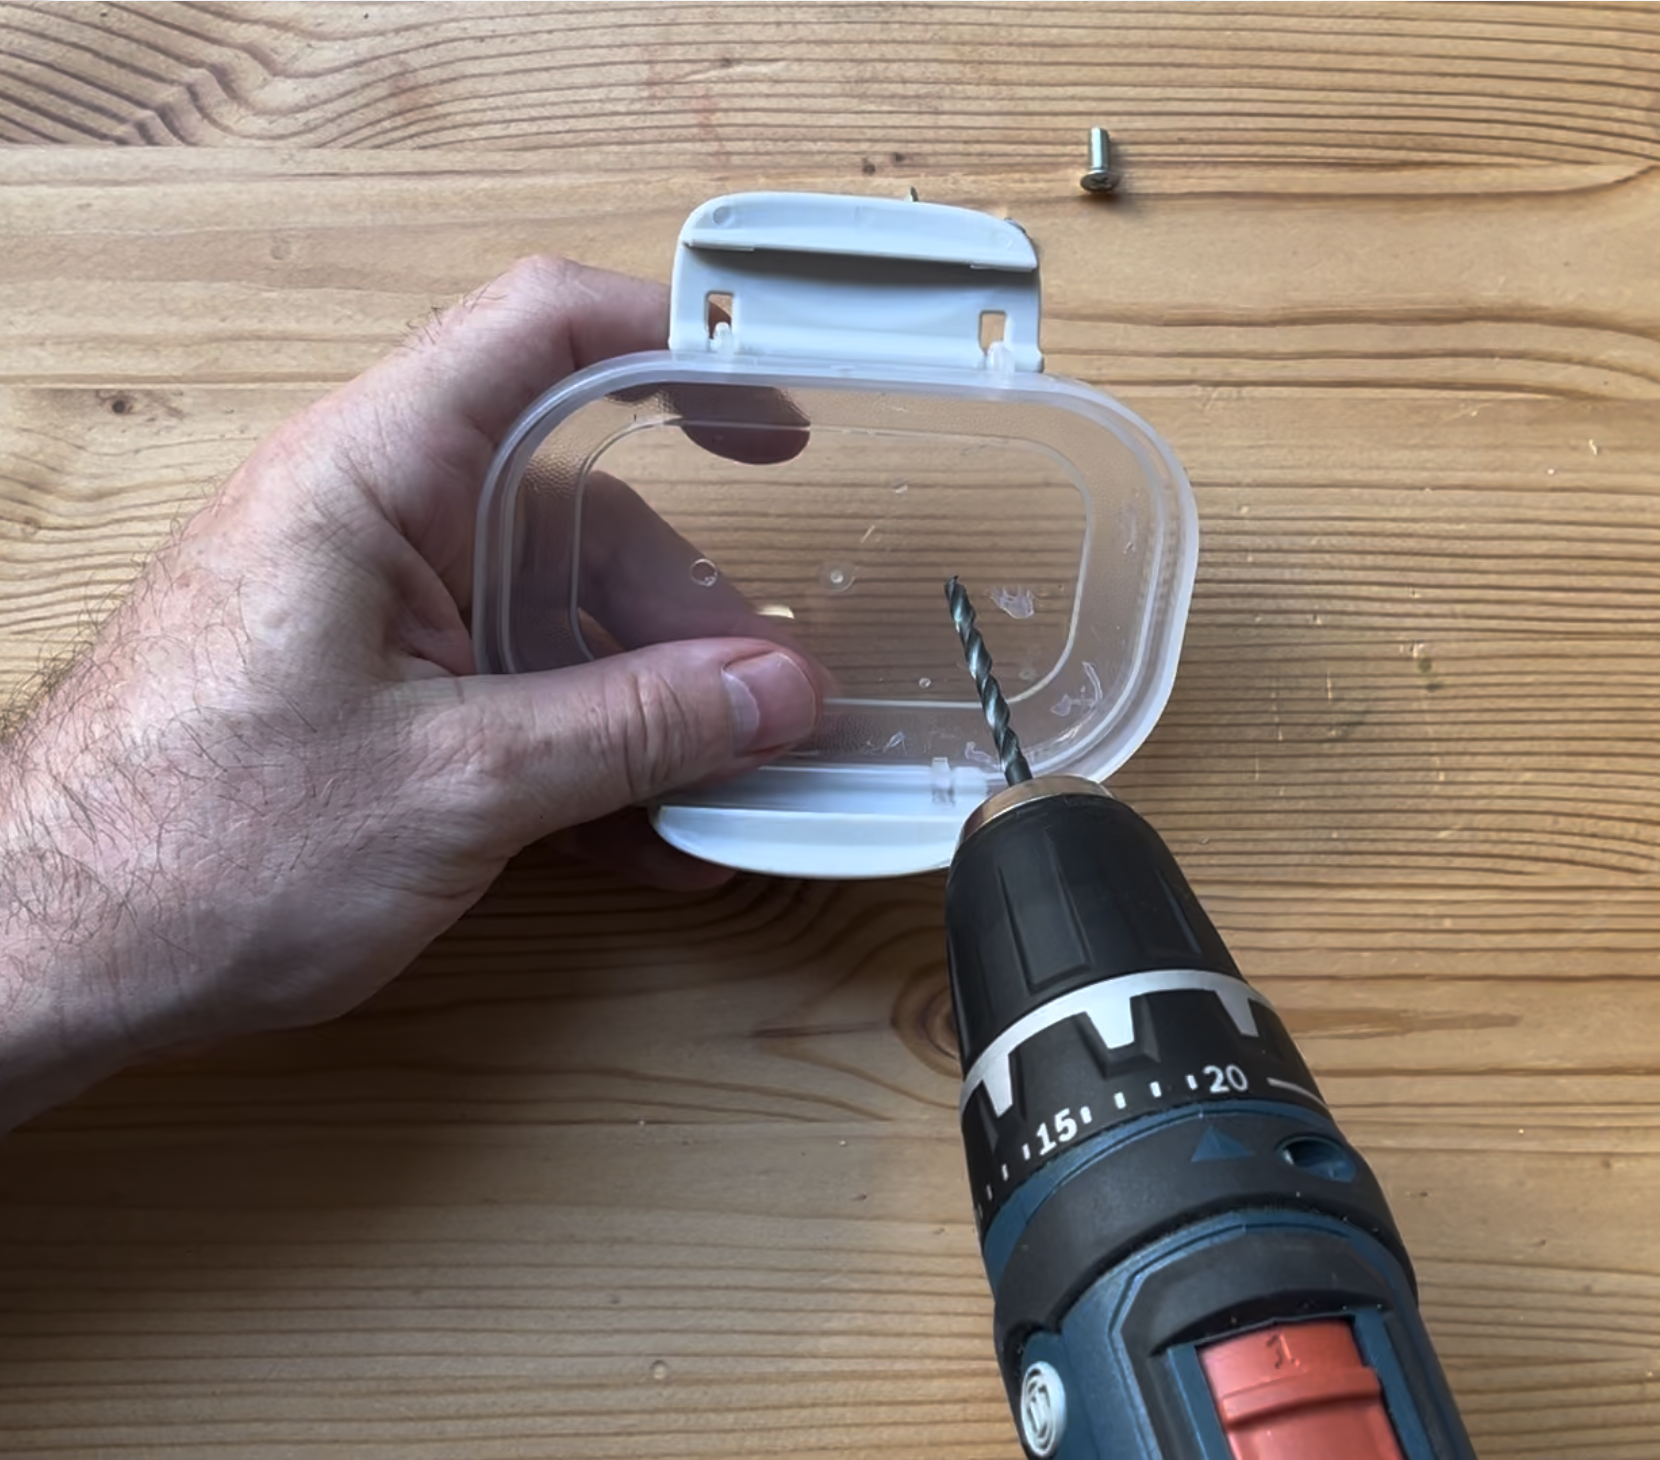
1.3 Measure and drill the holes: Select the drill bits according to the sizes of your switch and USB-C adapter. Using a step bit helps. Drill a small hole for the pump cable to pass through.
Result: The USB‑C adapter fits snugly. The switch fits cleanly. The pump cable can enter smoothly.


Step 2: Install the pieces together
Now we'll wire the switch, USB-C adapter, and pump cable together inside the box.
-
2.1 Feed the pump cable: Insert the pump cable through its hole into the box and feed it through the switch hole for soldering.
-
2.2 Install the USB adapter: Insert the USB adapter into its hole. Use the included front and back pieces and rotate/tighten to lock it in place. Feed its cable through the switch hole as well.
-
2.3 Prepare the wiring: Open the cable ends and place them into the switch pin holes before soldering.
-
2.4 Solder the connections: The switch has three pins:
- Different‑colored pin → Ground
- Opposite side pin → Power input
- Middle pin → Switched output
Connections:
- USB‑C ground (black) → Ground pin
- USB‑C positive → Power input pin
- Pump ground (black) → Ground pin
- Pump positive → Middle pin (controlled by the switch)
-
2.5 Insulate the pins: Make sure the soldered pins don't make a short circuit. Use a plier to create more distance between the pins and use electric tape to cover them.
Result: The electric circuit is soldered and fixed. At this point, the switch electrically works if connected to a 5V outlet with a USB-C cable.


Step 3: Assemble the box and install on the base
- 3.1 Tuck cables: Tuck excess cables inside the box neatly.
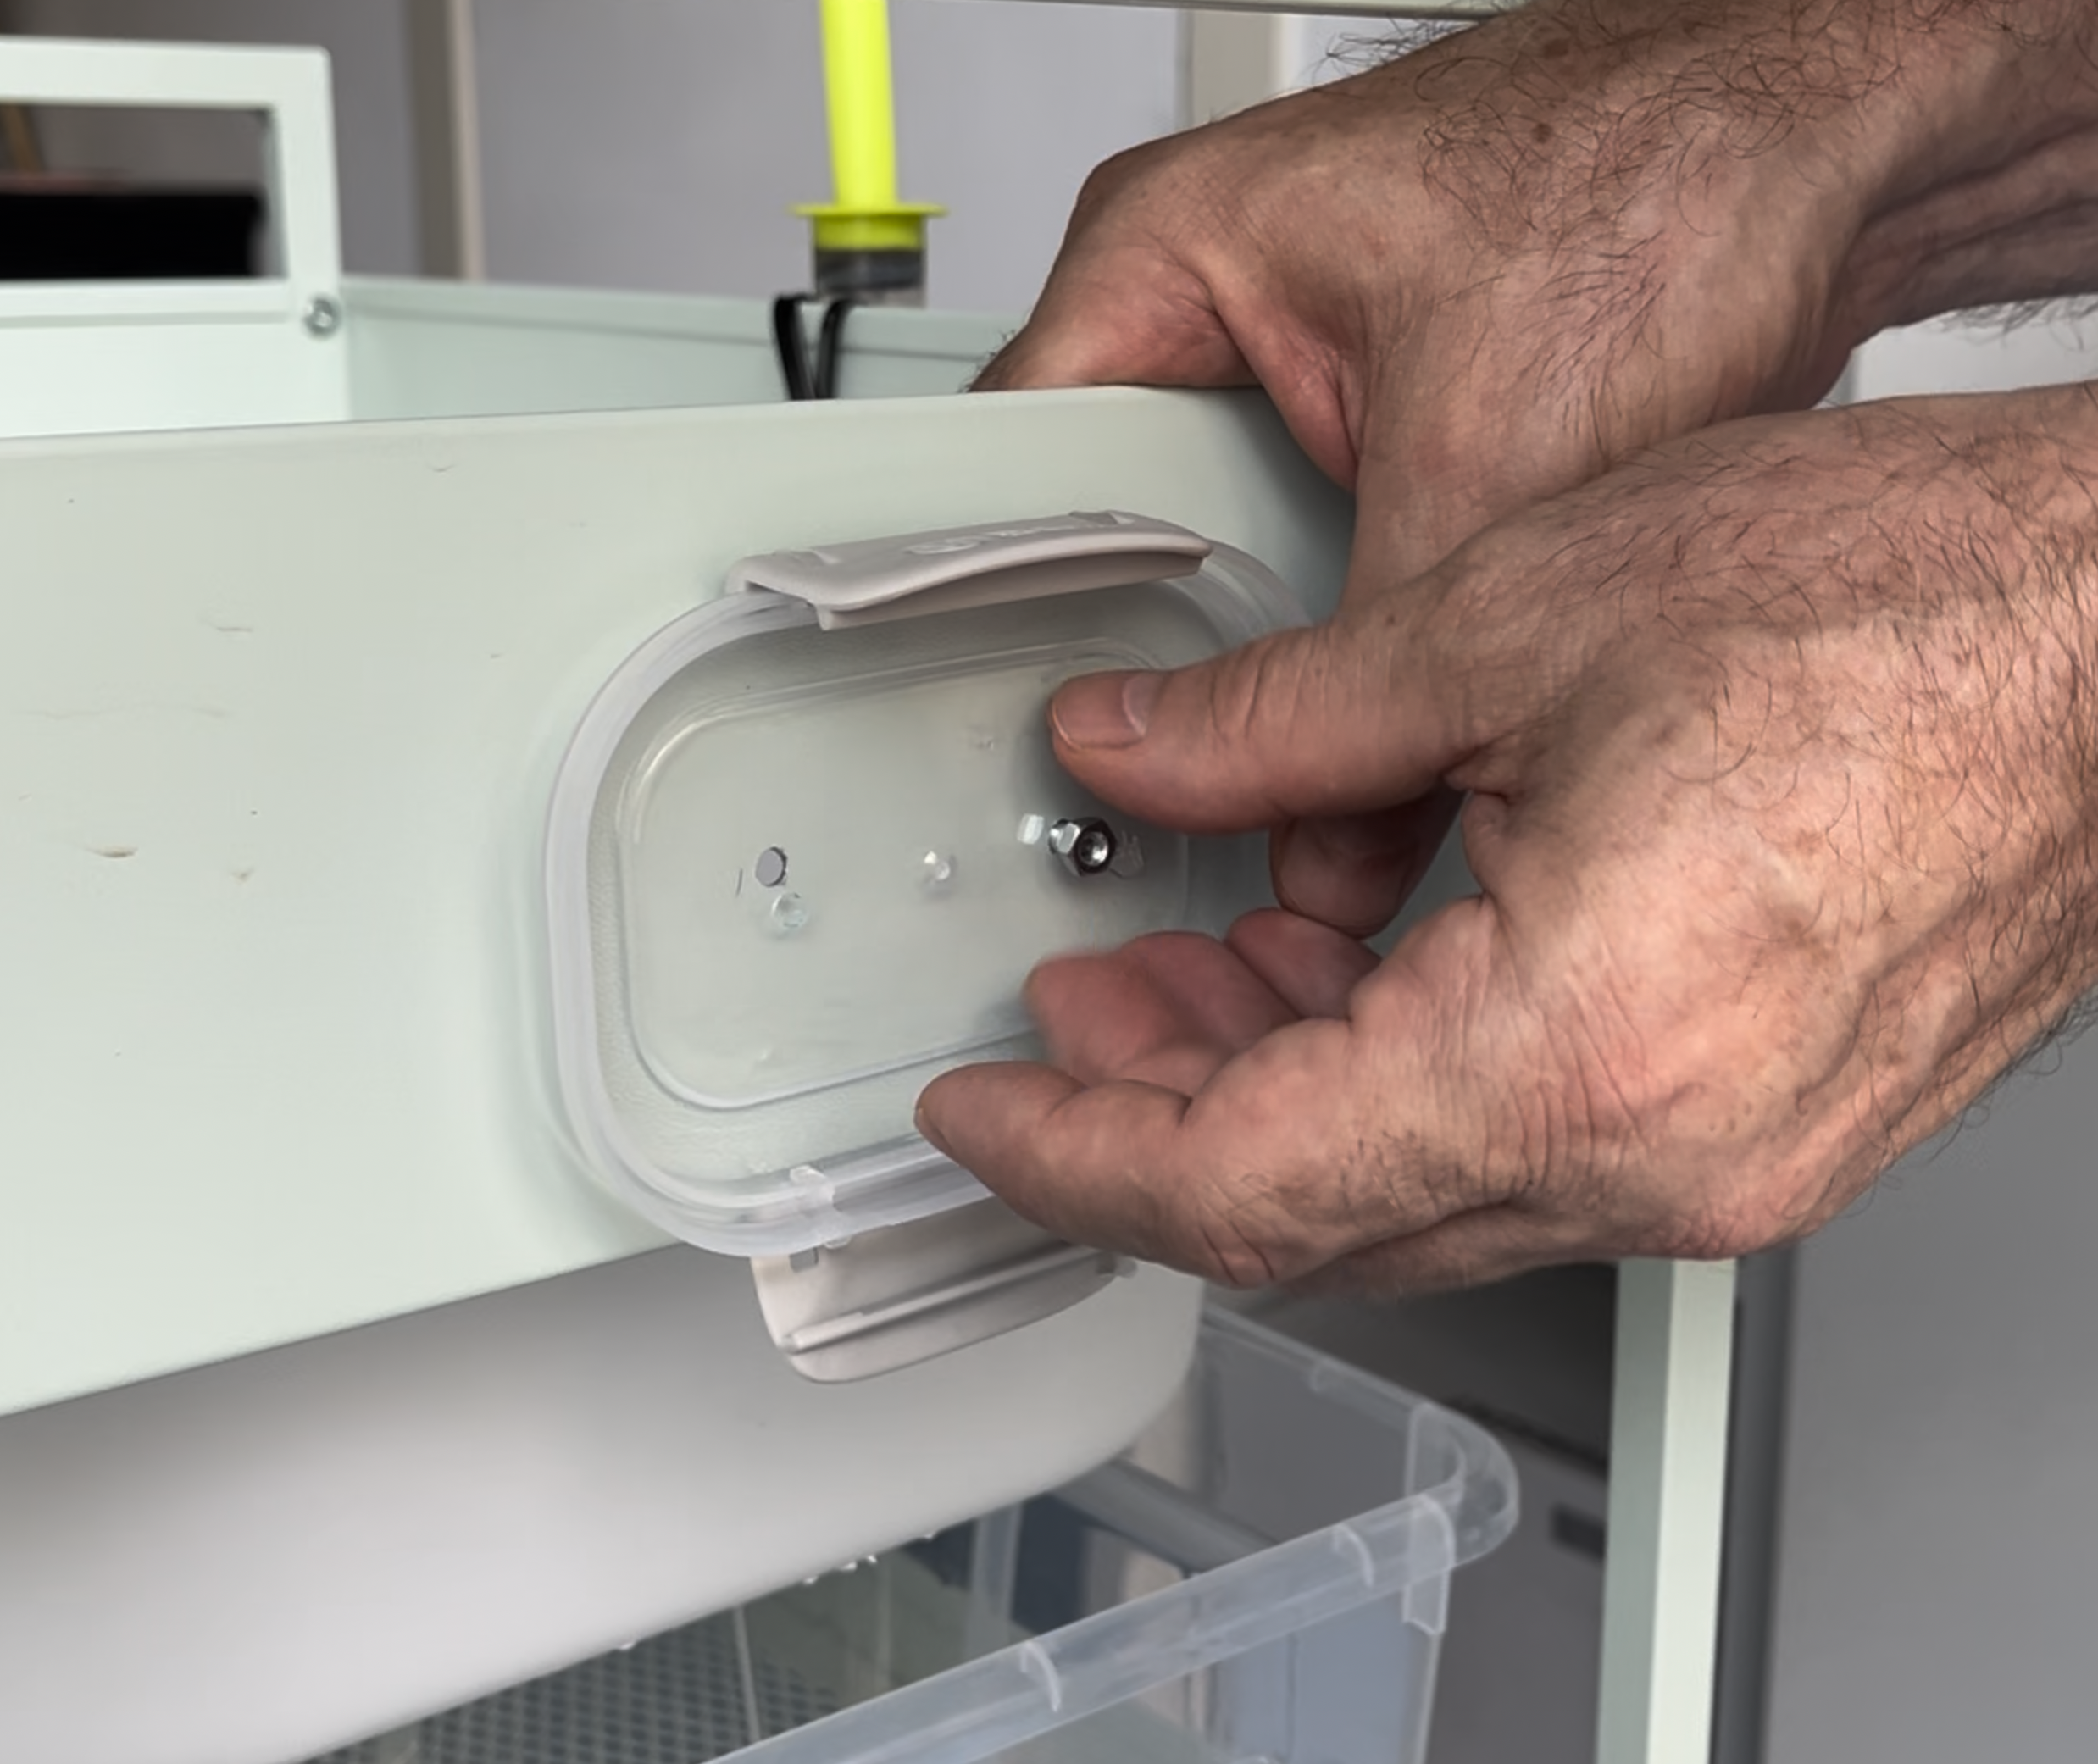
- 3.2 Insert the switch: Insert the switch into its hole.
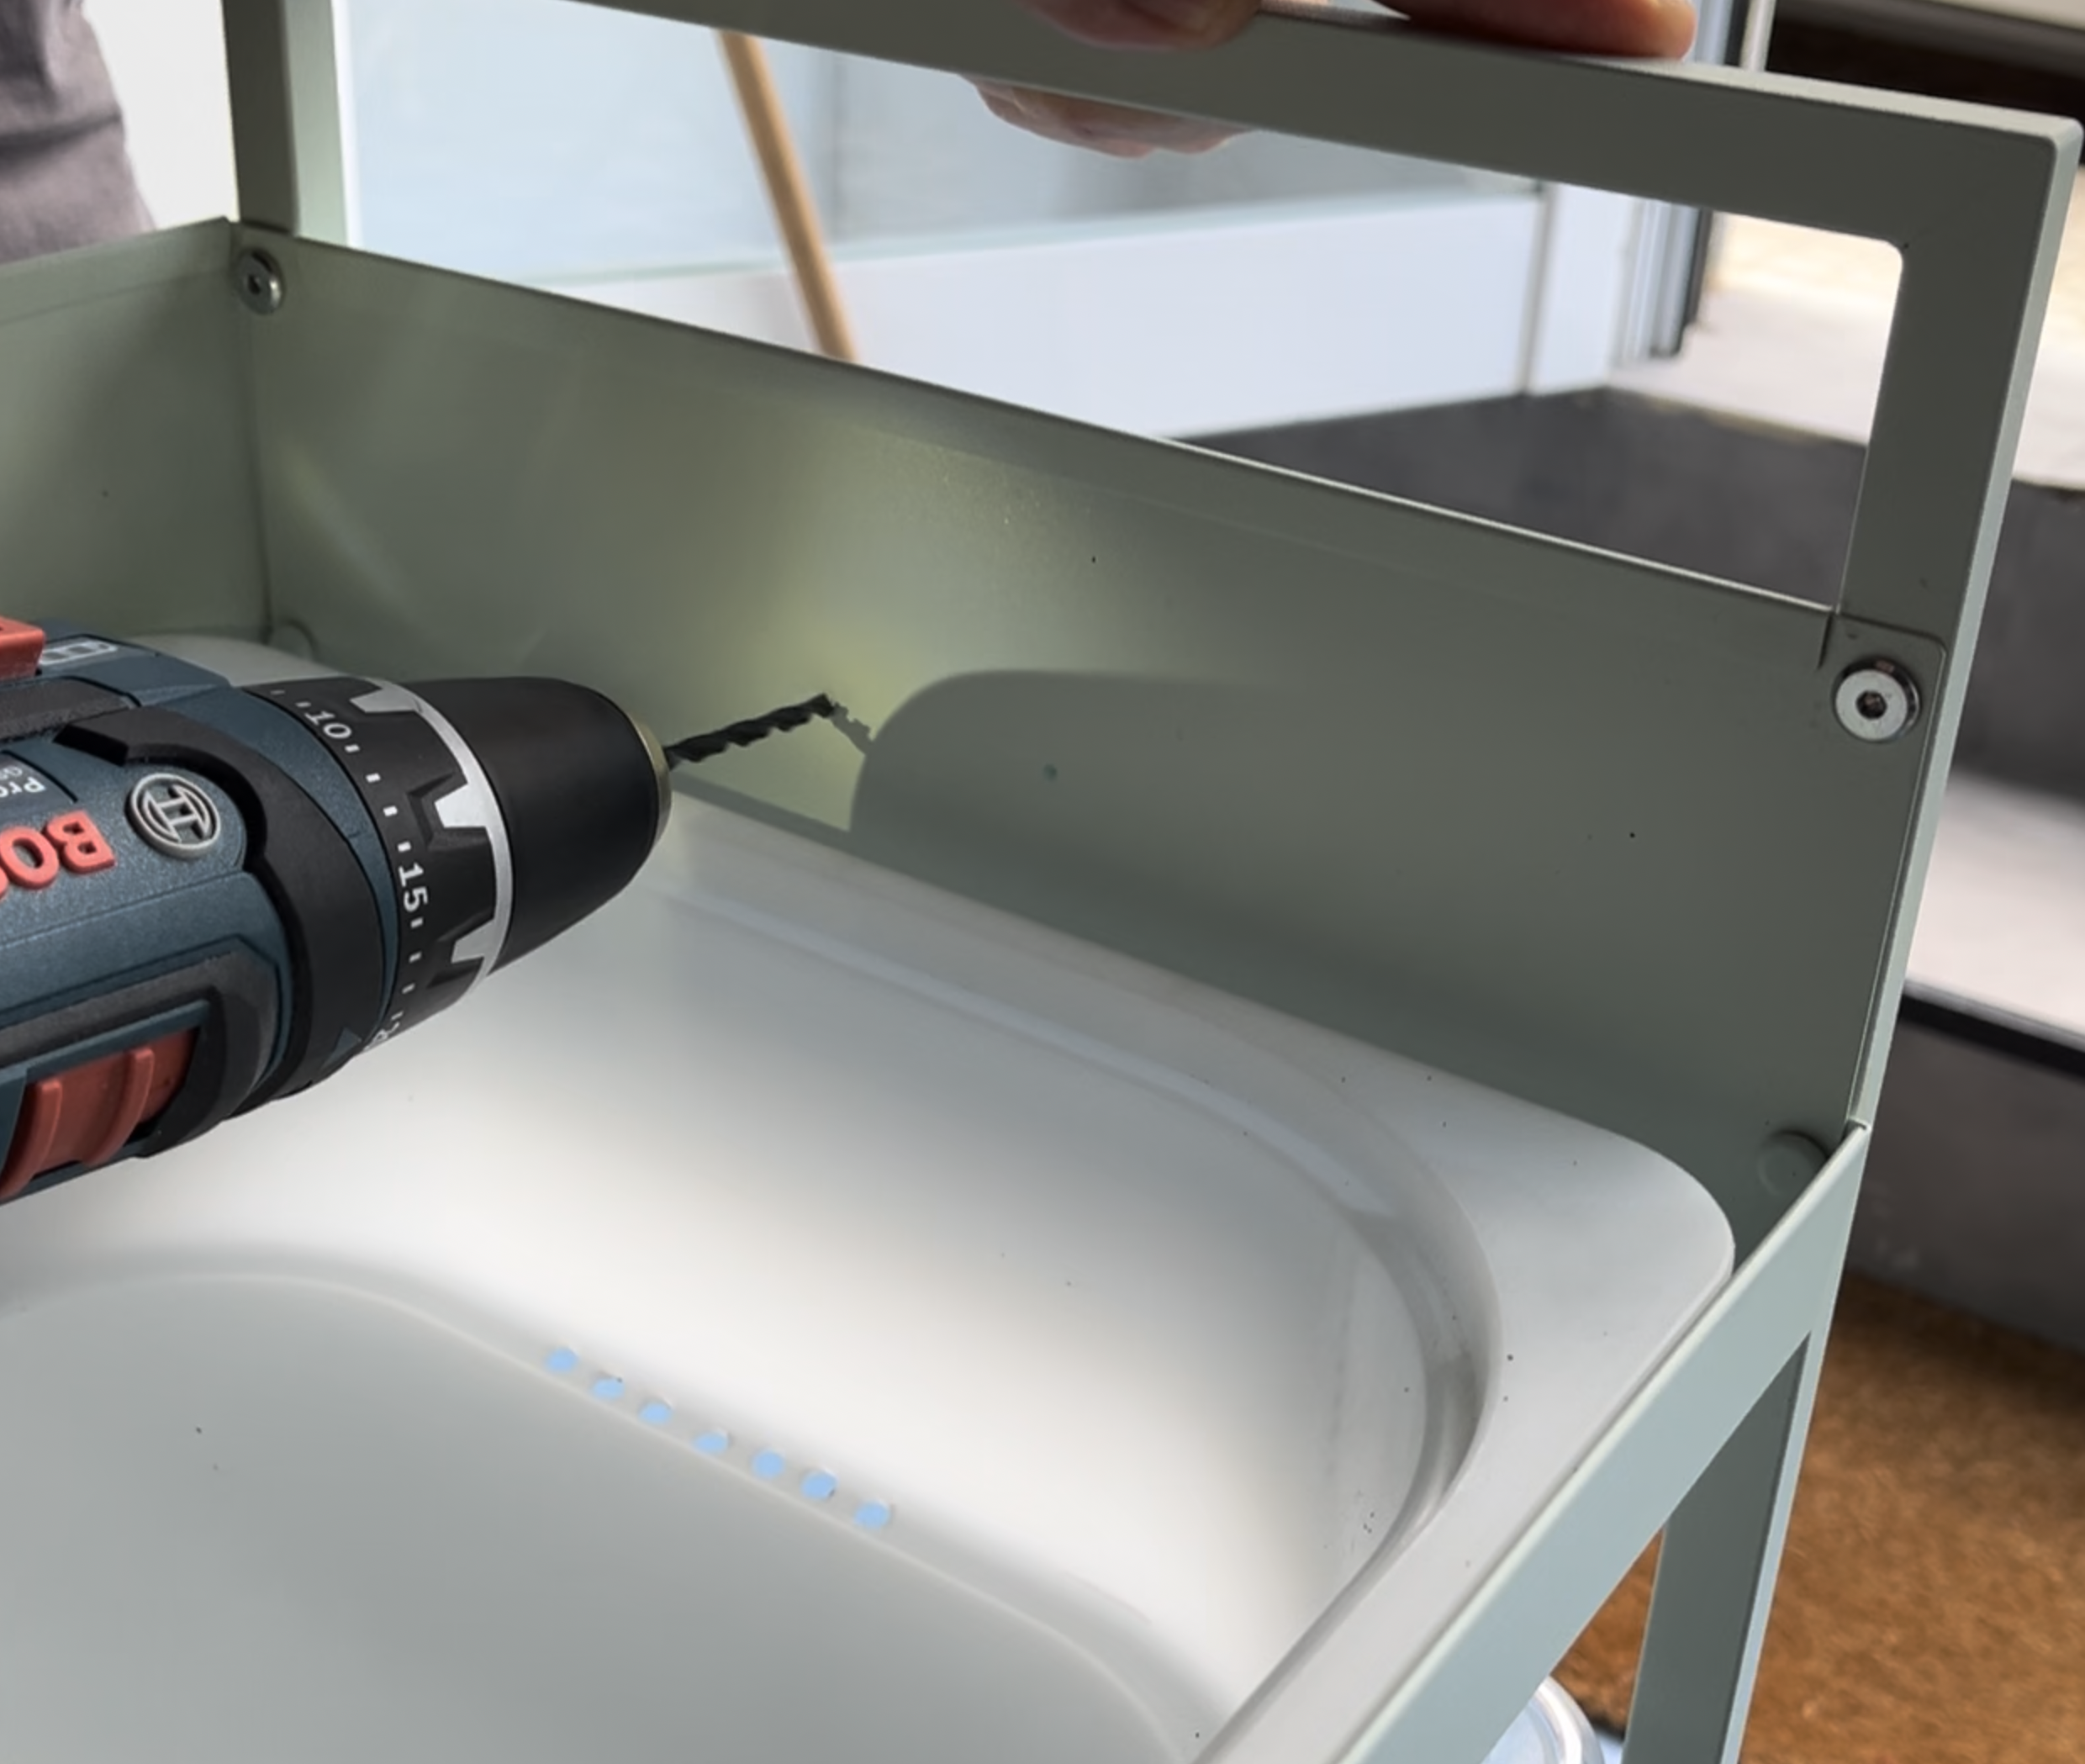
- 3.3 Close and mount: Close the box and assemble it to the base using screws and 2 additional holes drilled on either side of the base.
Result: The switch box is complete and ready to use with the Piqpoc sink.